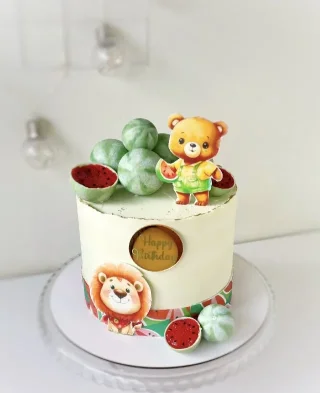
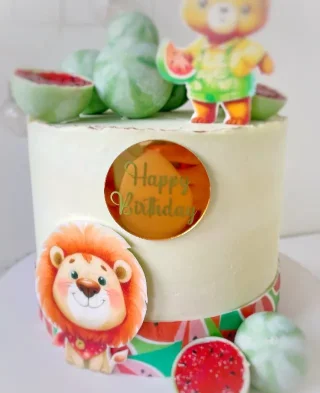
How to Make Cake Decorations with Wafer Images
This is probably one of the most popular ways to decorate your cakes or cupcakes. It doesn’t require you to have artistic skills, yet provides vast room for imagination and allows you to implement any of your ideas. Overall, making decorations from wafer images is quite simple, but you need to keep in mind some features of working with them to avoid any surprises 😉.
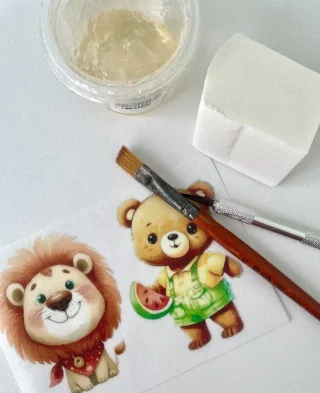
- An image printed on wafer paper
- Sugar paste (fondant)
- Neutral transparent gel (decorative gel)
- Starch
- A sharp knife
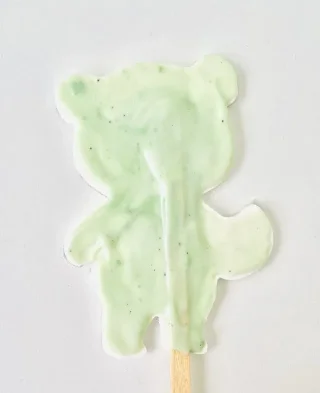
- Knead a piece of sugar paste well and roll it out thinly, dusting with starch so that the fondant doesn't stick. Carefully cut out the image along the contour with sharp scissors (it's important they are sharp to prevent the edges from breaking). Coat the back side of the image with a neutral gel, attach it to the rolled-out fondant, and place a kitchen board on top. This is necessary to let the image "relax" and become even, as it initially bends from moisture. Keep the images like this for about 10 minutes.
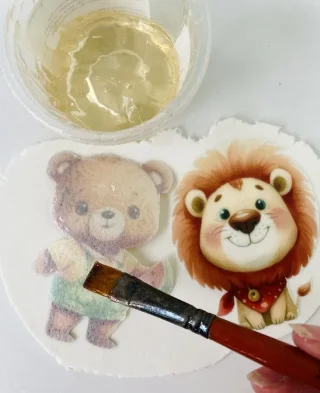
Note: When rolling out sugar paste, aim for a thickness of about 1-2 mm (approximately 0.04-0.08 inches) for optimal results.

Frosting for Smoothing and Decorating

Mirror Glaze

Vanilla Sponge Cake of Dreams

Blueberry Meringue Cake

Crispy Nut Cookies
